A Designer’s Guide to Preparing for an Interior Photography Session
Why Preparation Matters
An interior photography shoot shouldn’t be just about documenting a room. By the time a project is ready for photographs, you, as a designer, have already made countless decisions about every detail of a room. Therefore, your shoot should be about creating images that help you, as the designer, build a stronger portfolio, attract new clients, submit work for publication, and stand out from the competition. Because you have already put so much work into the design, a little preparation before your photo shoot will help you make the most of your session and achieve the specific goals you have set. Below is a comprehensive checklist of helpful items to consider to make sure you will get the most out of your shoot day.
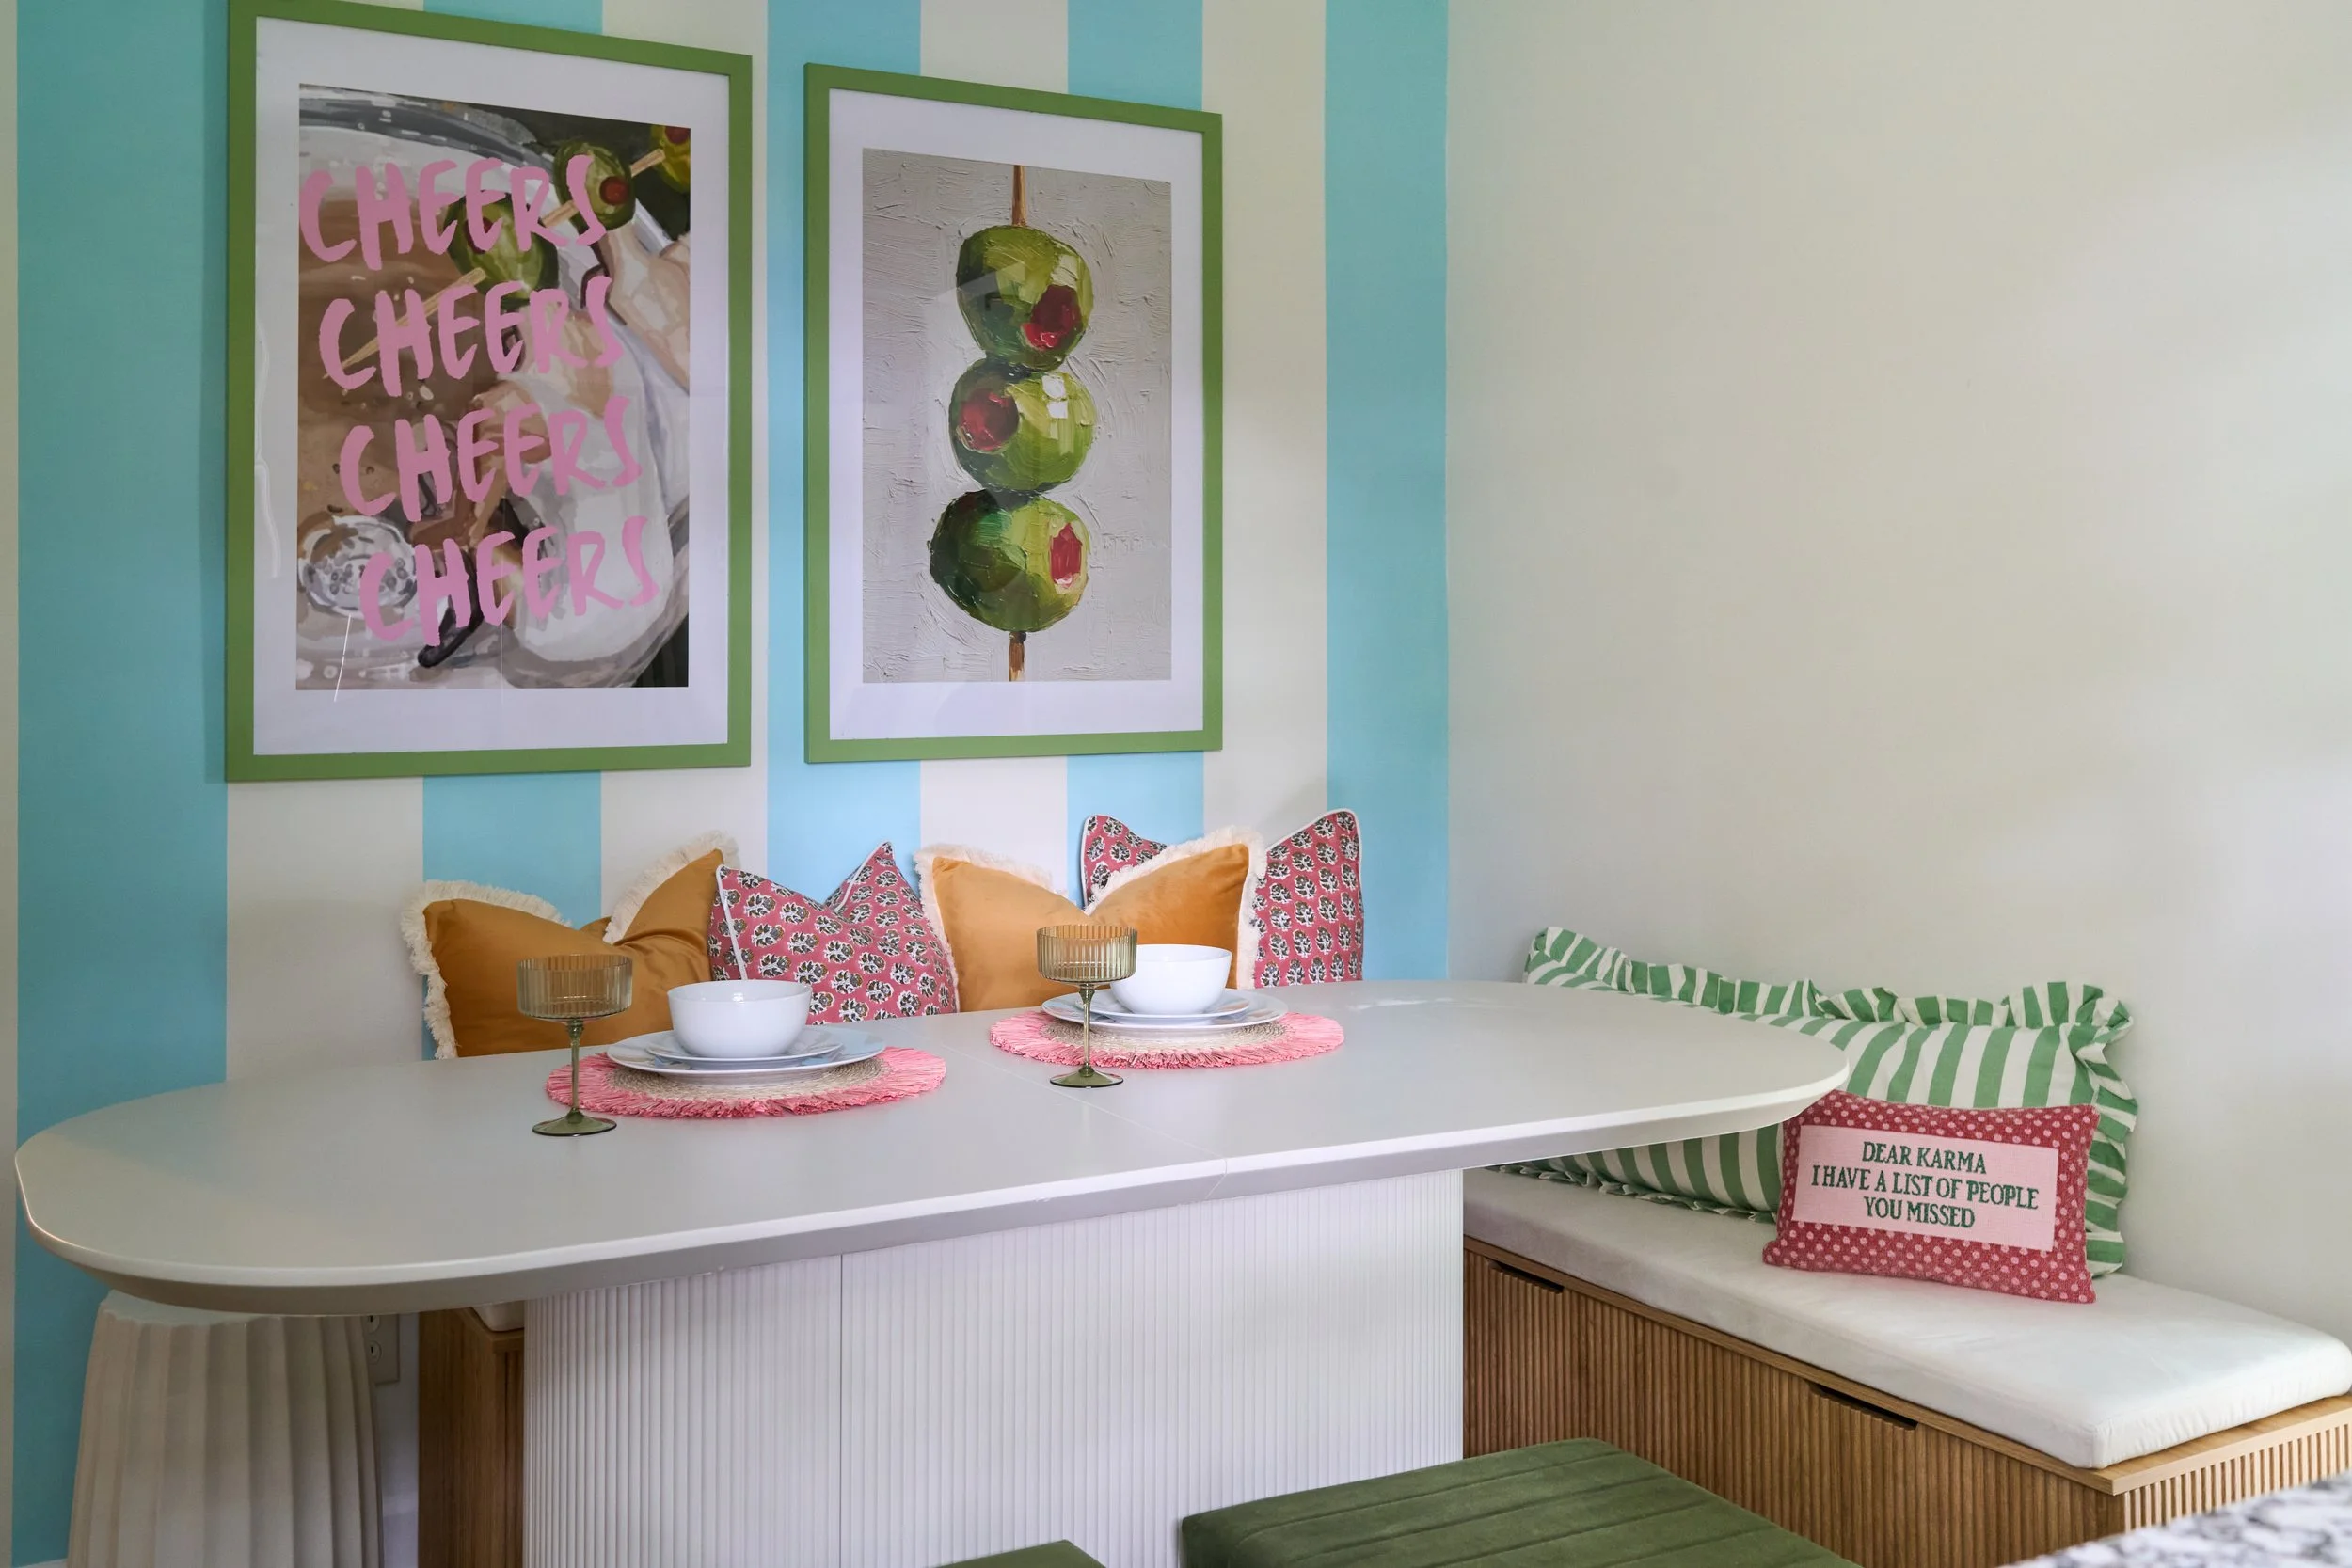
Make sure your project is truly photo-ready
Even though your project is 99% of the way there, not having the last 1% of final details completed can make a difference in your final photos. So before the day of your shoot, make sure that you have…
all pieces of furniture installed
installed window treatments
hung art
installed cabinetry hardware
made sure all light bulbs are working, and they are all the same color temperature (If lights will be on in the photos)
completed final paint touch-ups
addressed all punch-list items
thoroughly cleaned the room
When small details are left unfinished, your photos will look… well, unfinished. Yes, some of these details can be taken care of in post-production editing by the photographer, but I would recommend that you don’t solely rely on this. This type of editing can be very tricky, and having everything in place on the day of the shoot leaves no room for the possibility that your project won’t look exactly as you want it to look when you receive your final photos.
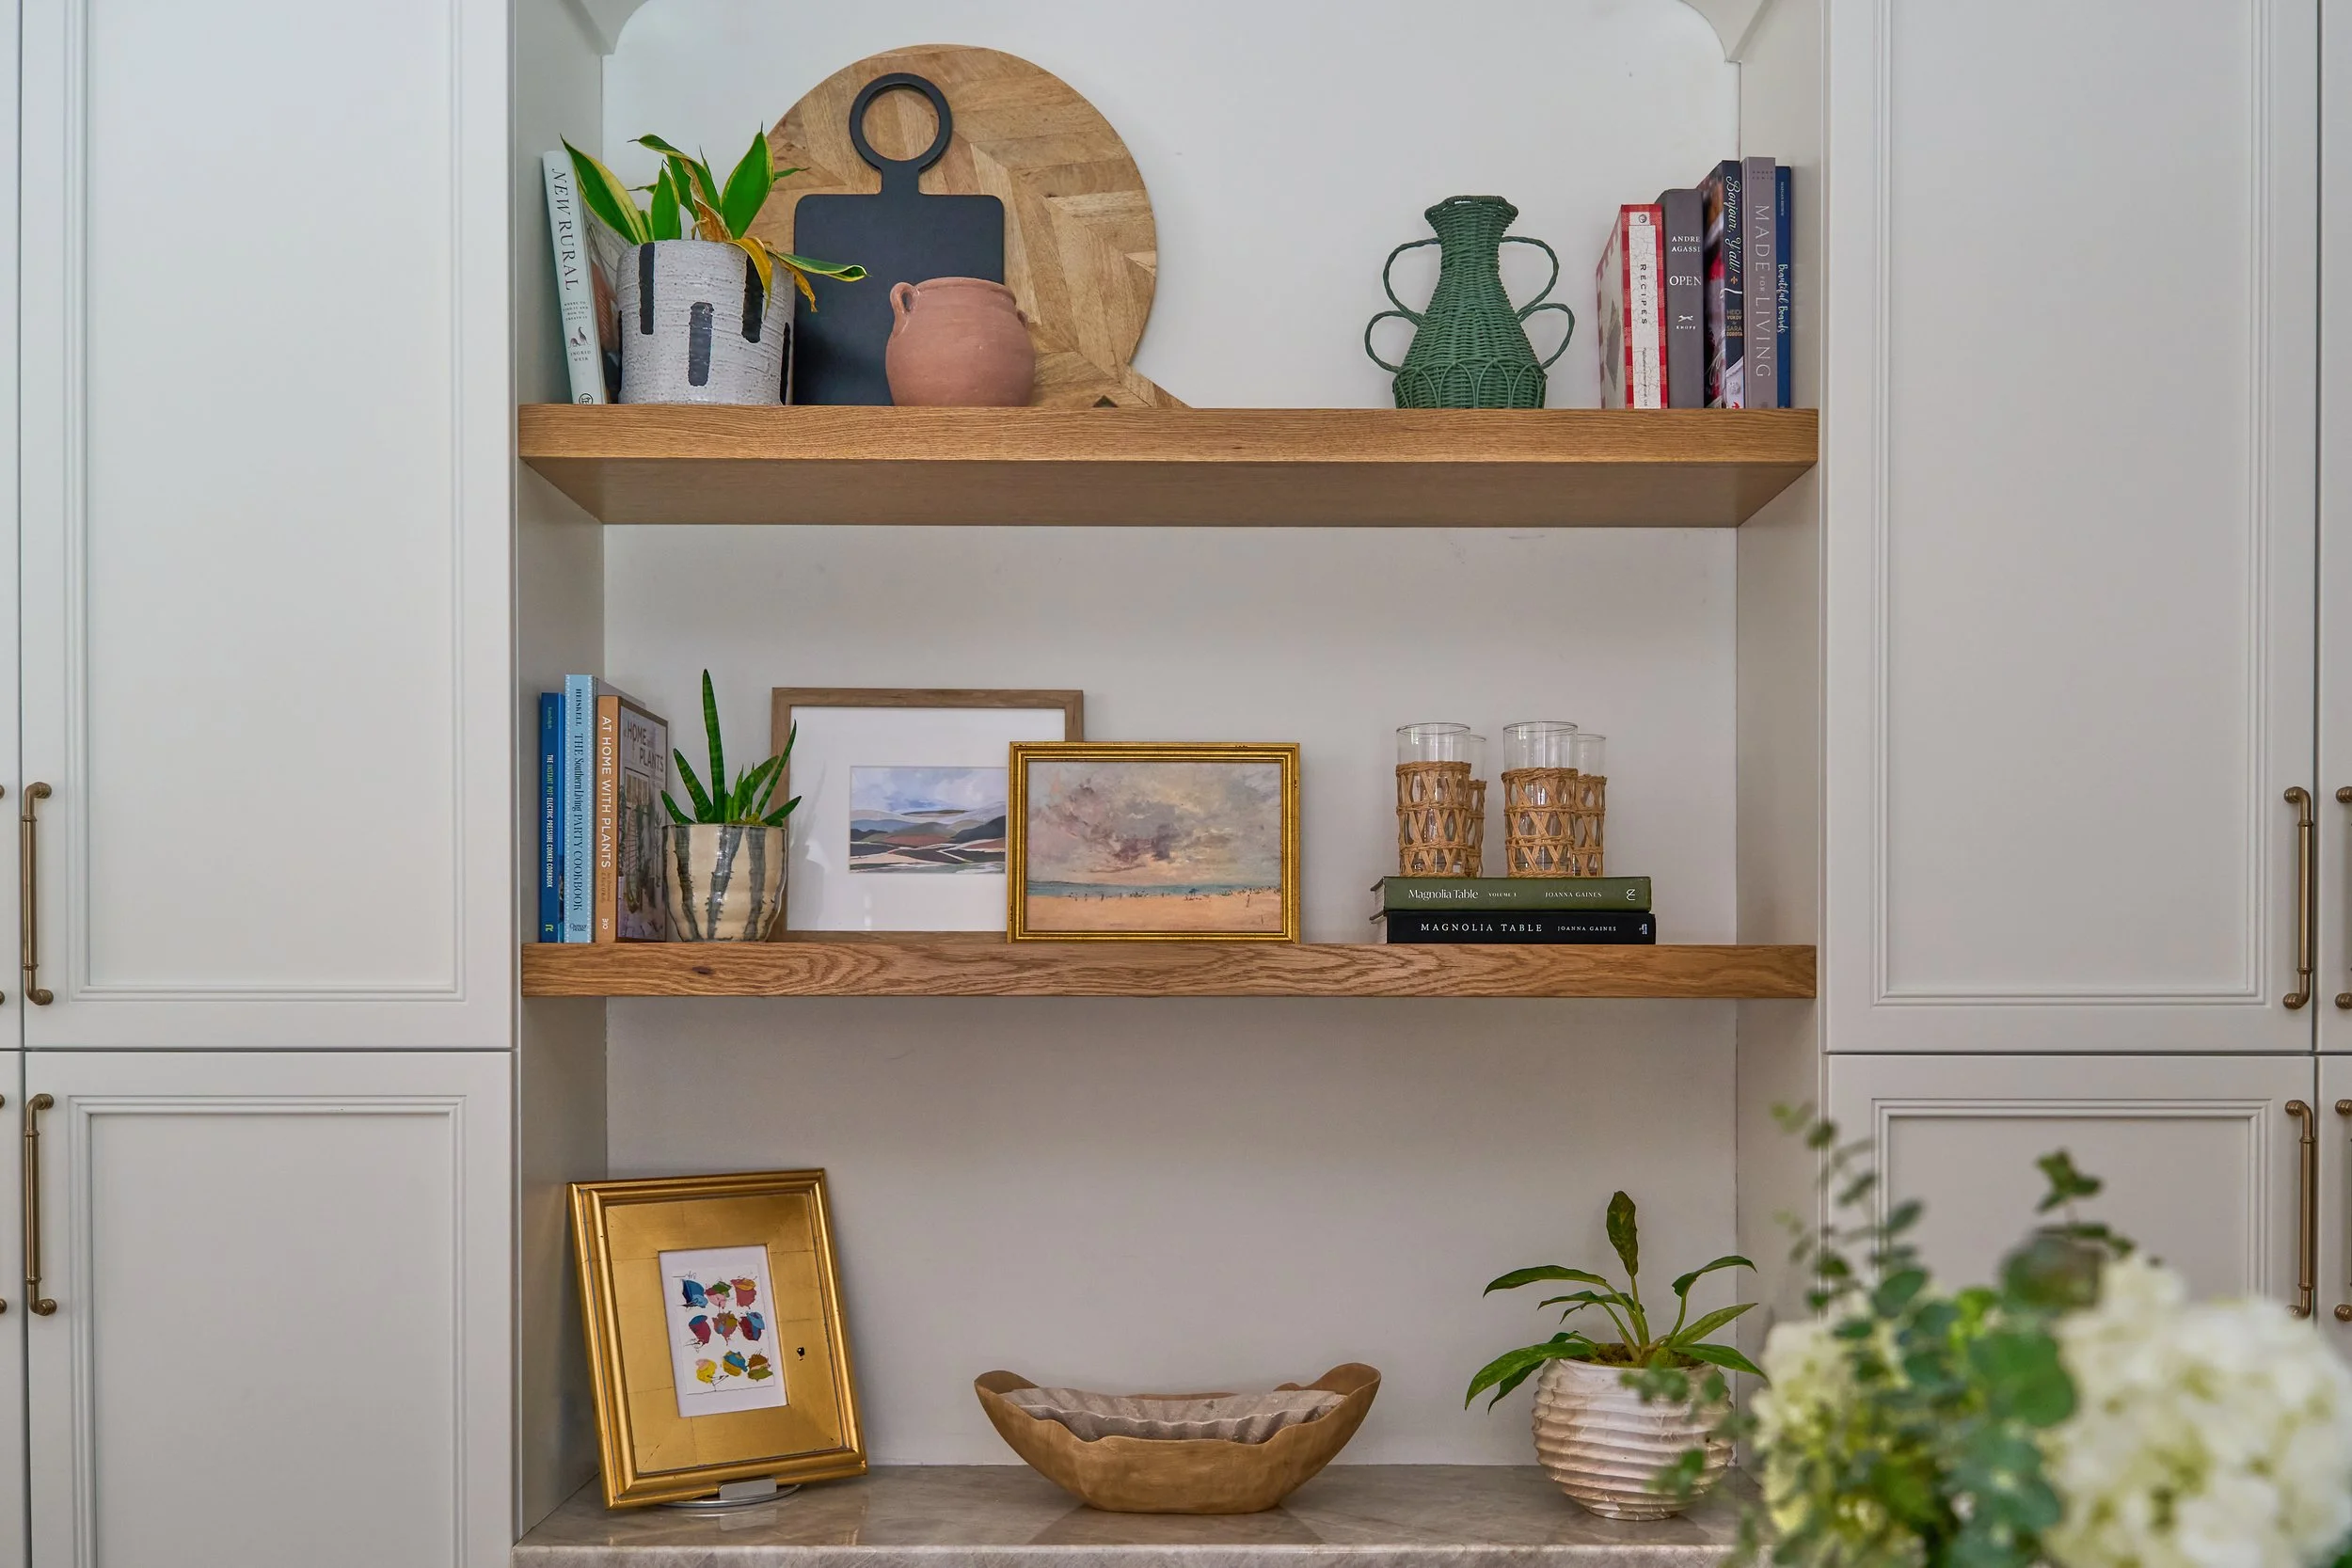
Create a thoughtful shot list
Going into the day of your shoot, it is very helpful to have a thoughtful list of the shots you would like to get and to prioritize them. You are probably working under a limited amount of time, so it is important to first identify which rooms are the ones that you will get the most mileage out of. When you think about how you will use your images, prioritize the rooms that will result in images that best reflect your unique style as a designer. If a certain room particularly reflects a particular style or mood that is uniquely reflective of you, it is important to showcase it. Also consider which rooms will yield images suitable for multiple purposes, including your website, social media, magazine submissions, or print ads.
Within each of those rooms that you have selected, identify where in the room you would like the wide shot, or the “hero image’ so to speak. This will be the image that may show up as the header on your website or as a large print ad. Also, think about vignettes and small details within that room that you would like photographed that speak to the mood of the room as a whole, your style as a designer, or the craftsmanship of the materials used within the room. Anytime that you have materials within a room that are custom-made or crafted with particular care, those are good details to highlight. This might mean custom millwork, handmade tile, show-stopping lighting, or unique custom upholstery.
Additionally, communicating your shot list with your photographer beforehand can help the photoshoot run extra smoothly. Your photographer will do his or her best to capture exactly what it is you would like captured to help you tell your story through images. However, it is also important to be open to collaboration and feedback from your photographer. They might have a better idea of how lighting will affect the resulting image or certain angles that will work best, and they can also help you see areas or details that will photograph nicely that you may not have thought of.
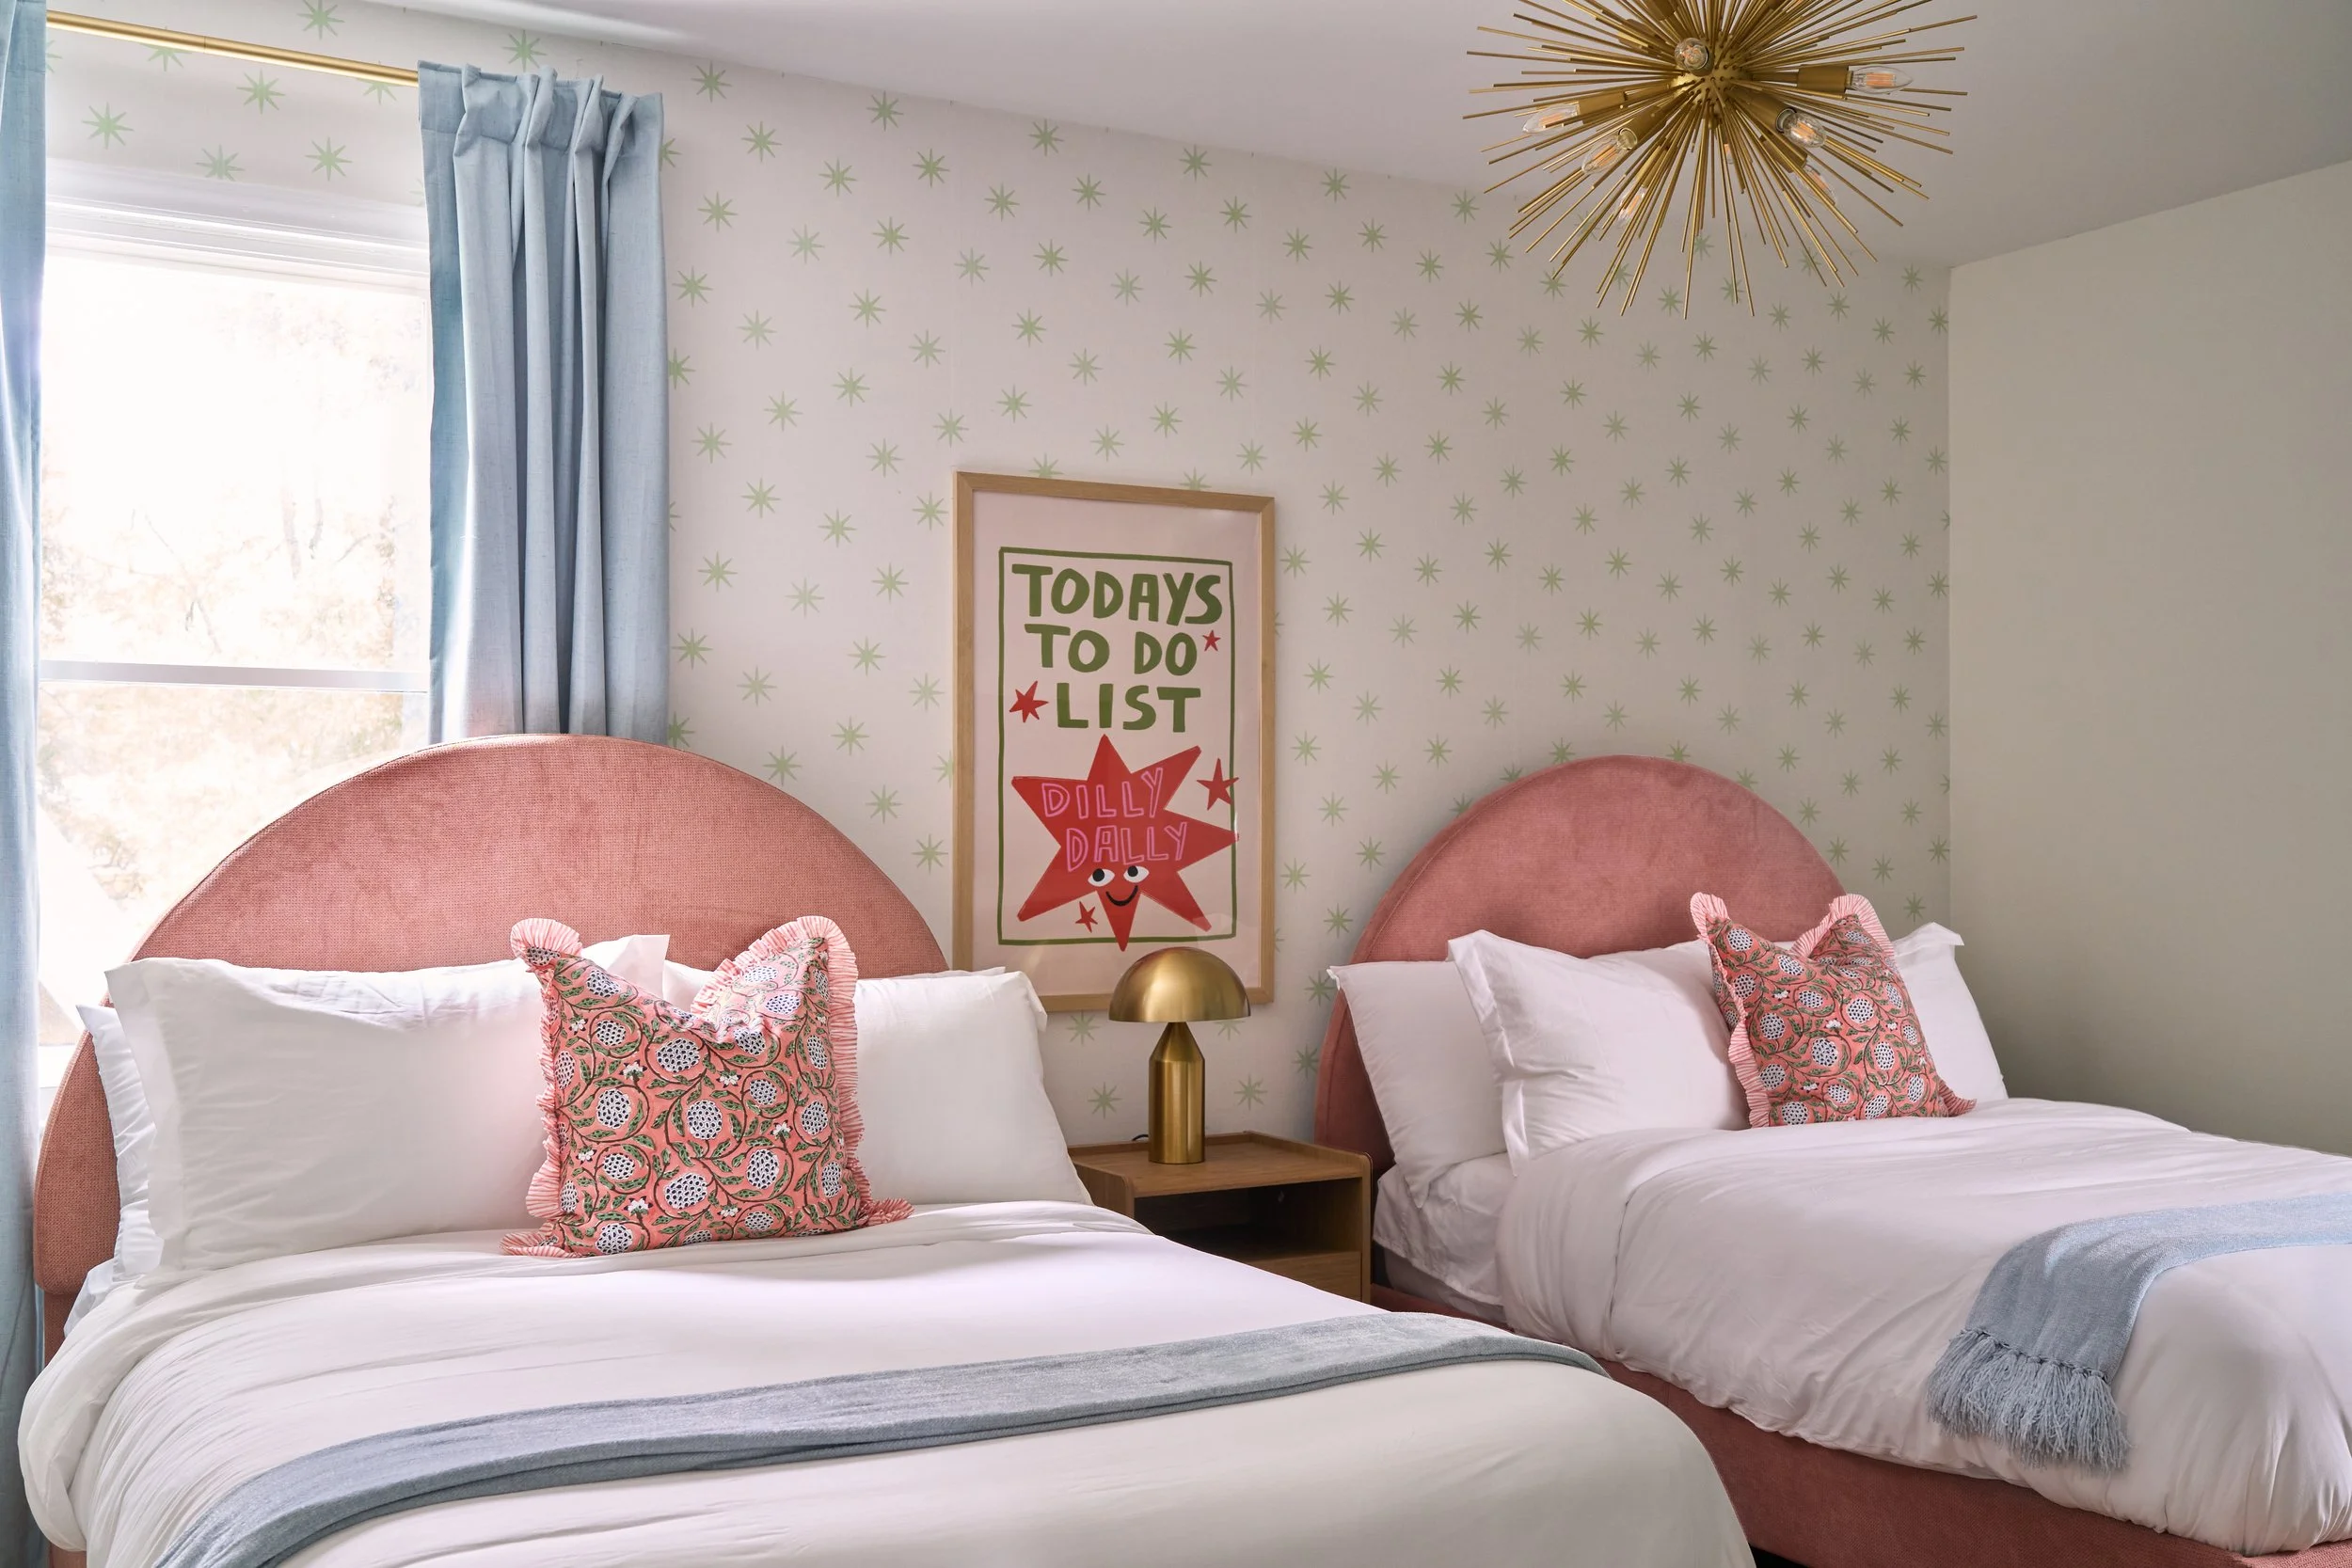
Think about the story of a project
Your project isn’t just a pretty space. It has a story to tell. It is important to carefully consider what that story is and collaborate with your photographer about ways to tell that story through images.
Every project has some story waiting to be told. There may have been a specific design challenge, a unique architectural feature, or a transformation that completely changed the way the home feels and functions. Identifying that story ahead of time helps guide the photography so the final images feel intentional.
For example, if the project involved reworking a traditional home for modern family living, the photography should show both the beauty of the spaces and the way those rooms now support daily life. To emphasize the day-to-day living element, this might be a good shoot to consider adding some lifestyle photography. If the strength of the project is custom millwork or collected artwork, those details should be considered when planning the shot list. The goal is to create images that reflect not only what the space looks like, but also why the design is successful.
This is also an opportunity for you to think about what you want future clients, editors, or potential collaborators to notice. Which rooms best represent your design style? What details show the thoughtfulness and care that went into the project? What elements would you want to highlight in a portfolio, publication submission, or social media campaign? Sharing this with your photographer before the shoot allows them to approach the project with a clearer understanding of your vision.
A strong interior photoshoot should tell the story of the home in a way that feels cohesive, polished, and true to the designer. Wide shots can establish the flow and feeling of the space, while detail images can highlight craftsmanship, texture, materials, and styling. Together, those images create a fuller picture of the project and help communicate the value of the design.
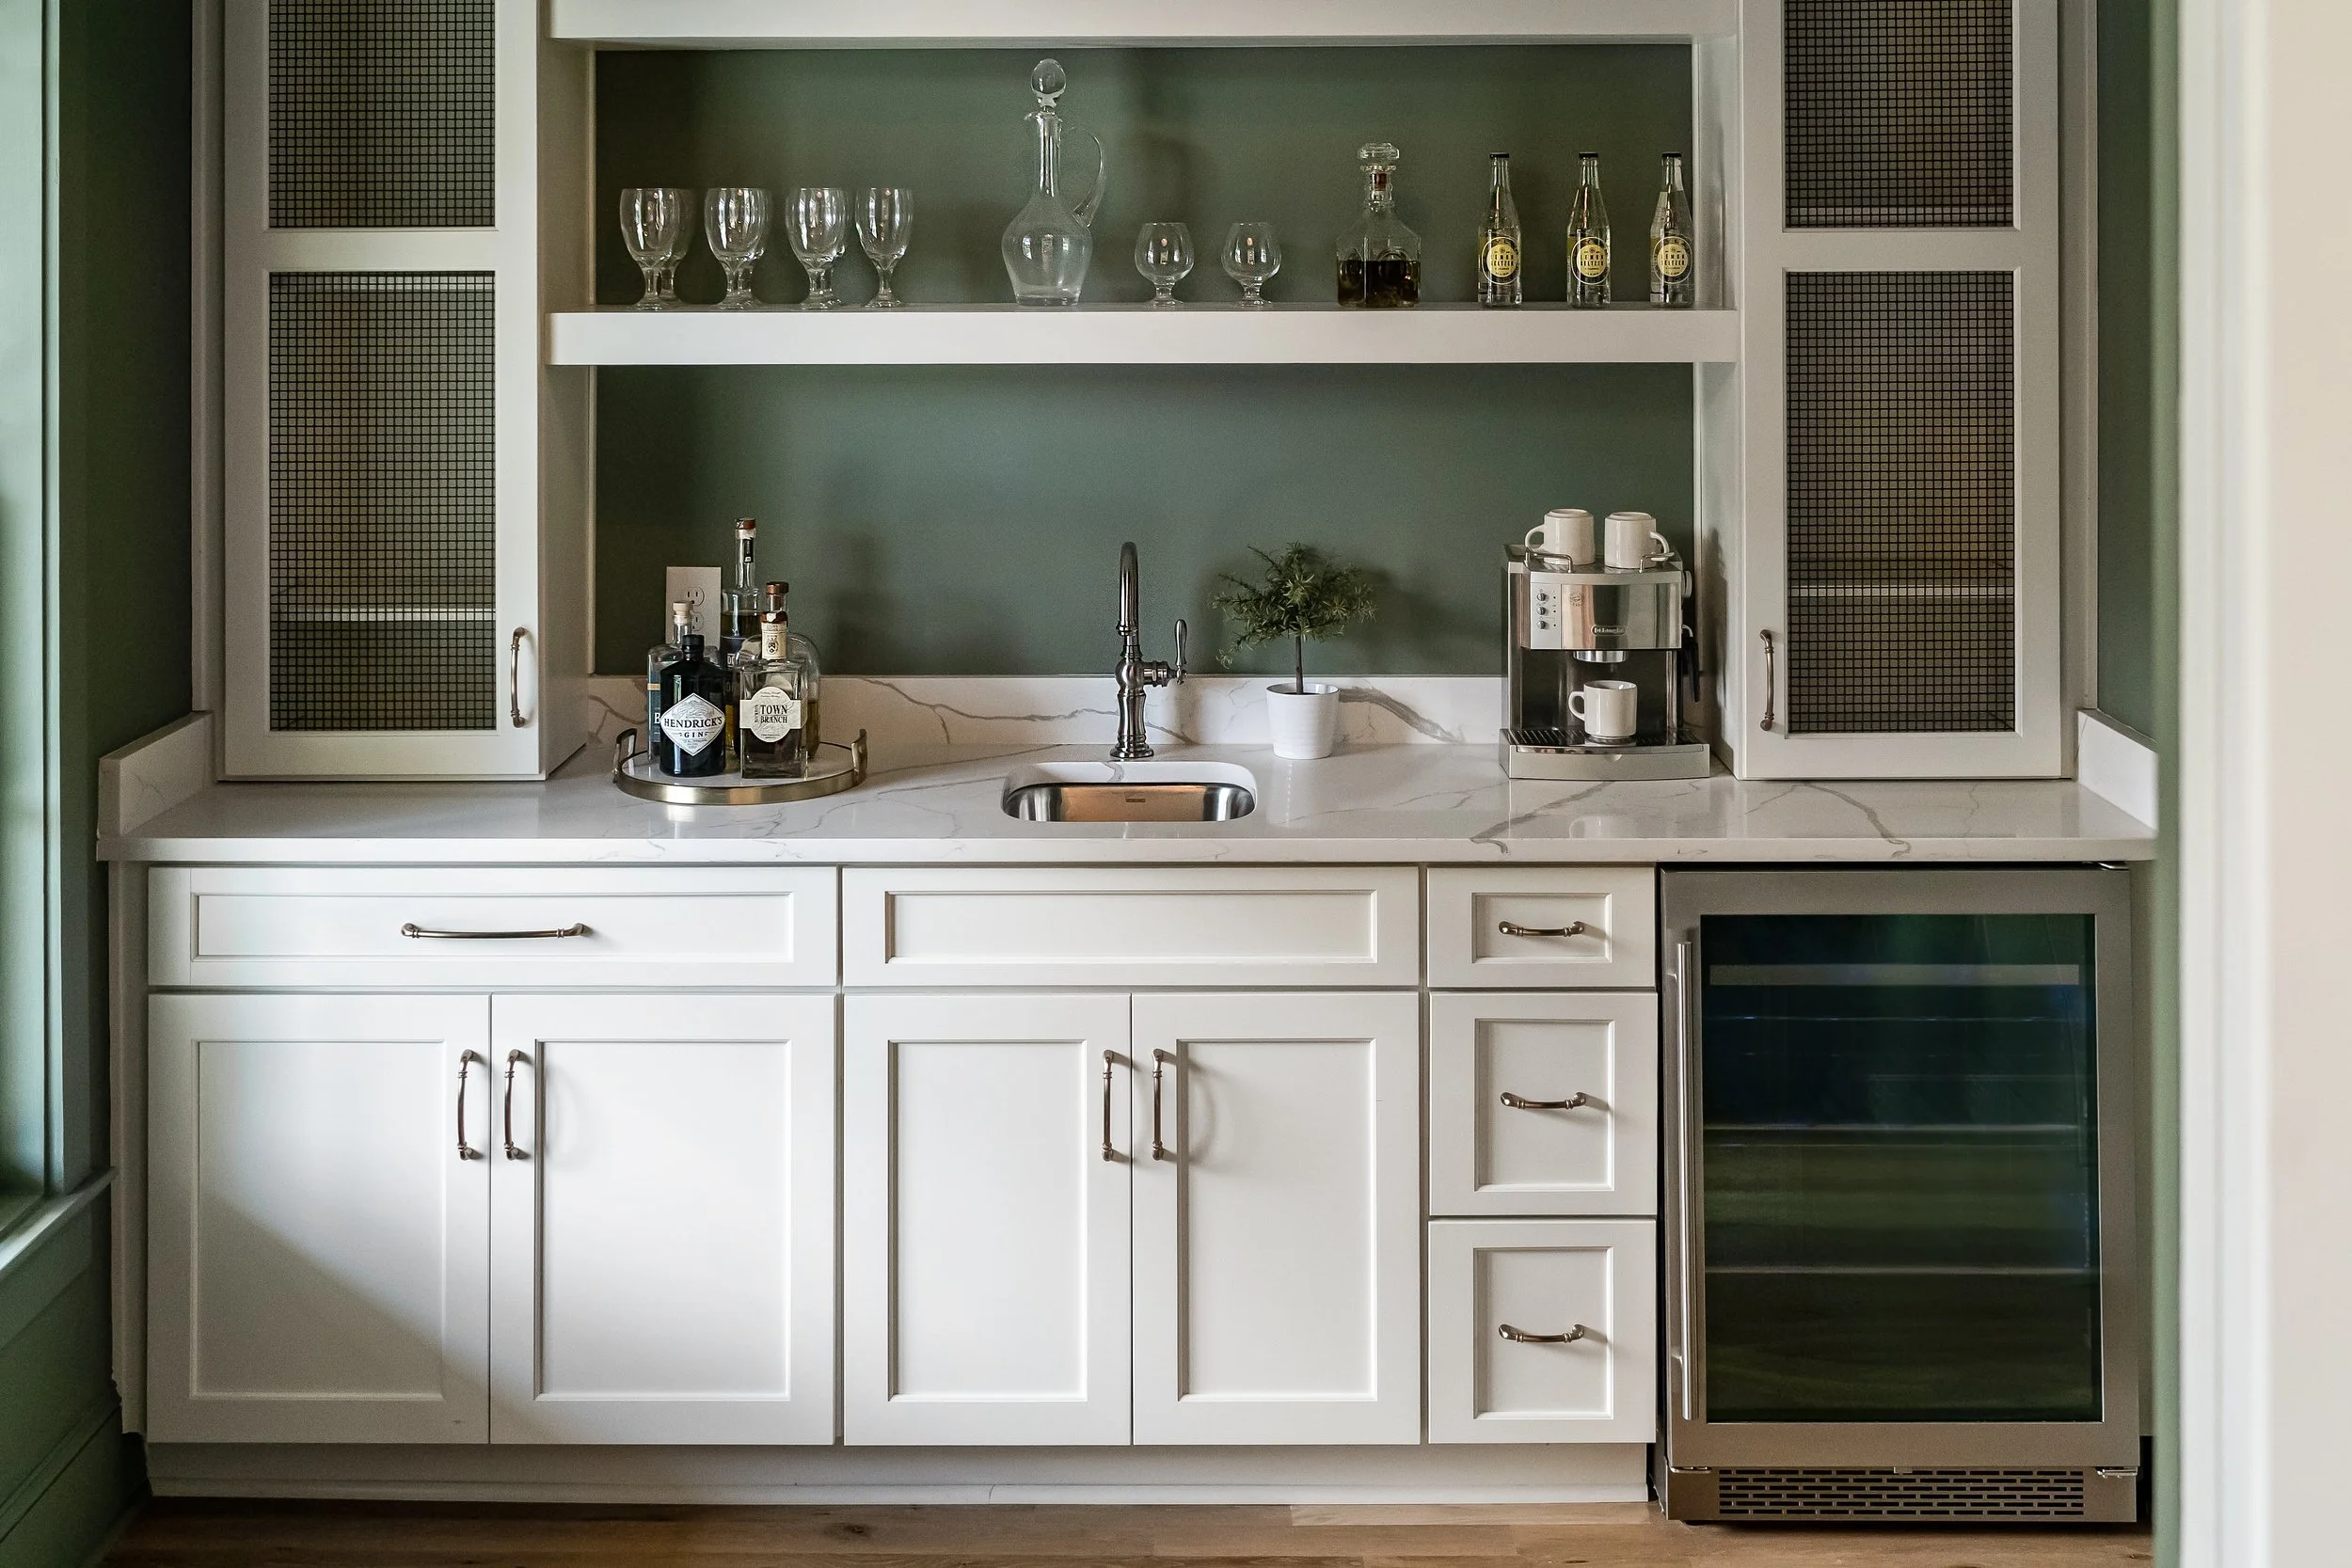
Plan Styling in Advance
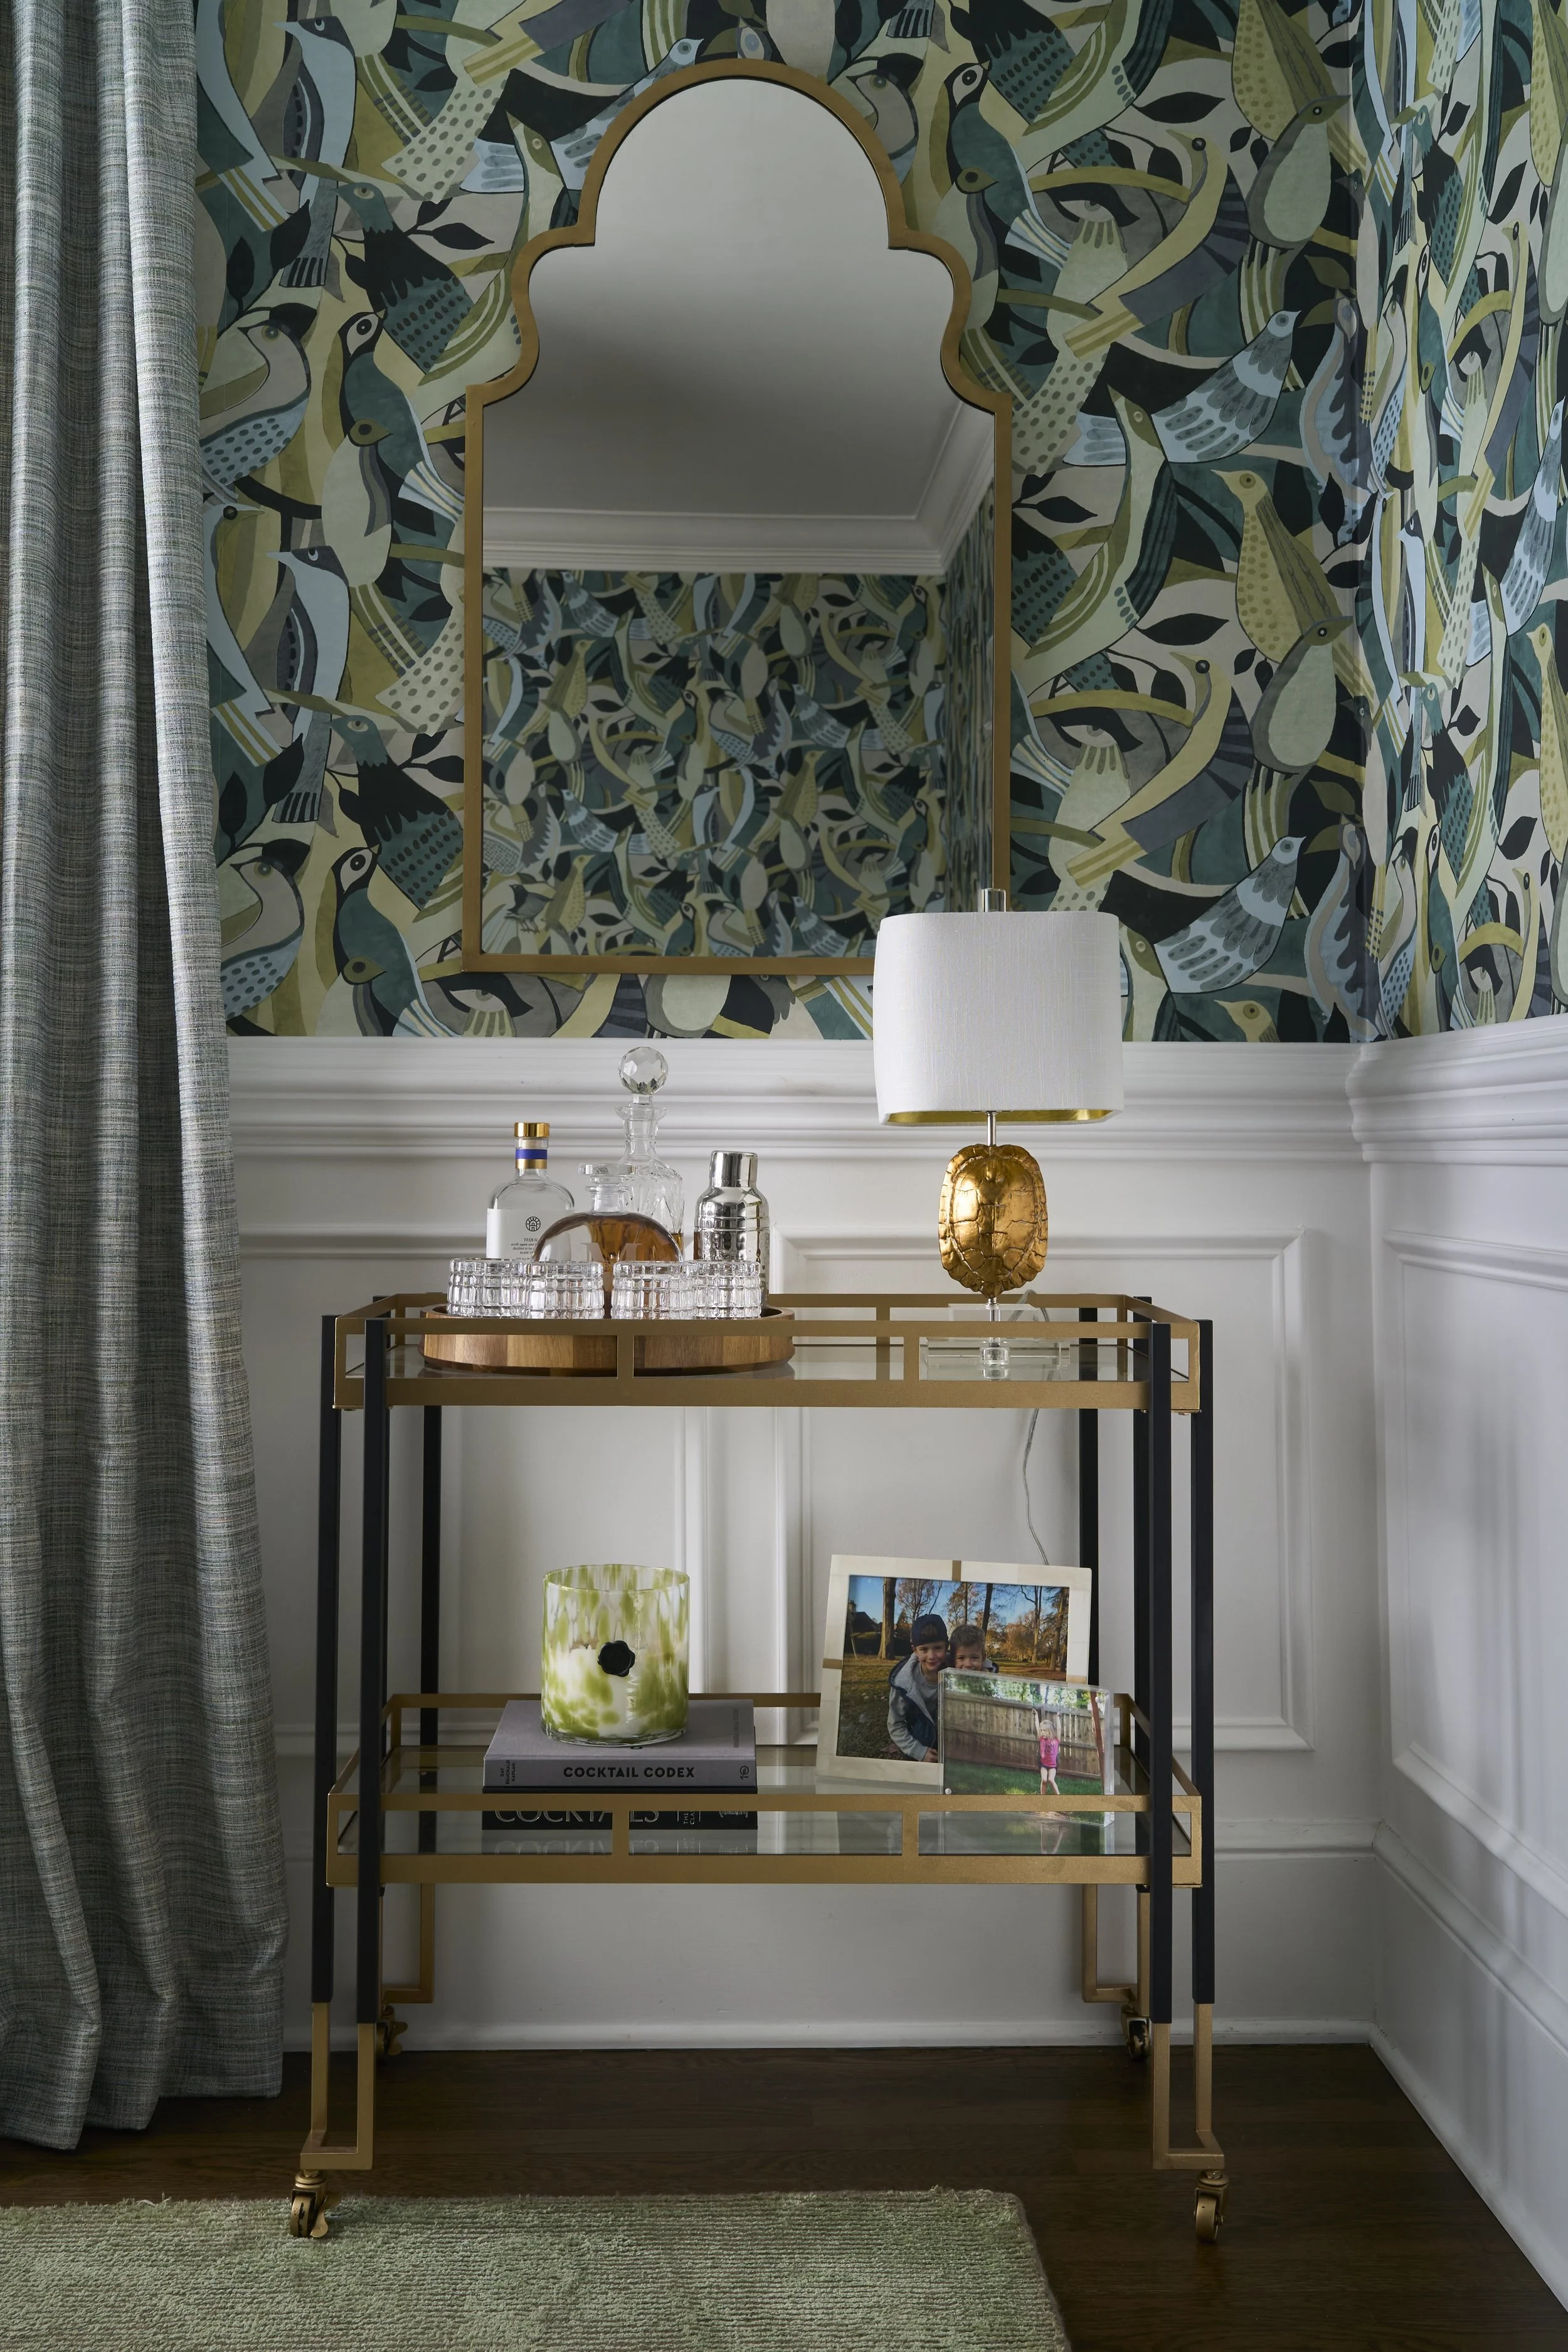
It is important to plan out how you want to style each room for your shoot. As mentioned in the section above, each project tells a story, and your styling should support the story that you are telling. The goal of styling is not to overwhelm the space, but instead to make it feel inviting and intentional by adding warmth, scale, texture, and a sense of life.
Before the shoot, think through each space and consider what details may help complete the image and support the story that you are telling. This might include fresh flowers, greenery, coffee table books, sculptural objects, trays, ceramics, folded towels, pillows, throws, or carefully selected kitchen and bathroom accessories. These pieces should feel consistent with the mood of the home and the type of client you want to attract.
Also, remember that styling is not always about what you add, but sometimes about what you take away. Editing can be just as important as adding. Too many accessories can make a space feel cluttered on camera. Everyday items, overly personal objects, visible cords, remotes, and excess décor should be removed before the shoot. A more restrained approach often allows the design itself to stand out.
When styling is planned, the shoot day runs very smoothly. The designer, photographer, and stylist can focus on small refinements instead of making major decisions under time pressure out
Pay Attention to Lighting
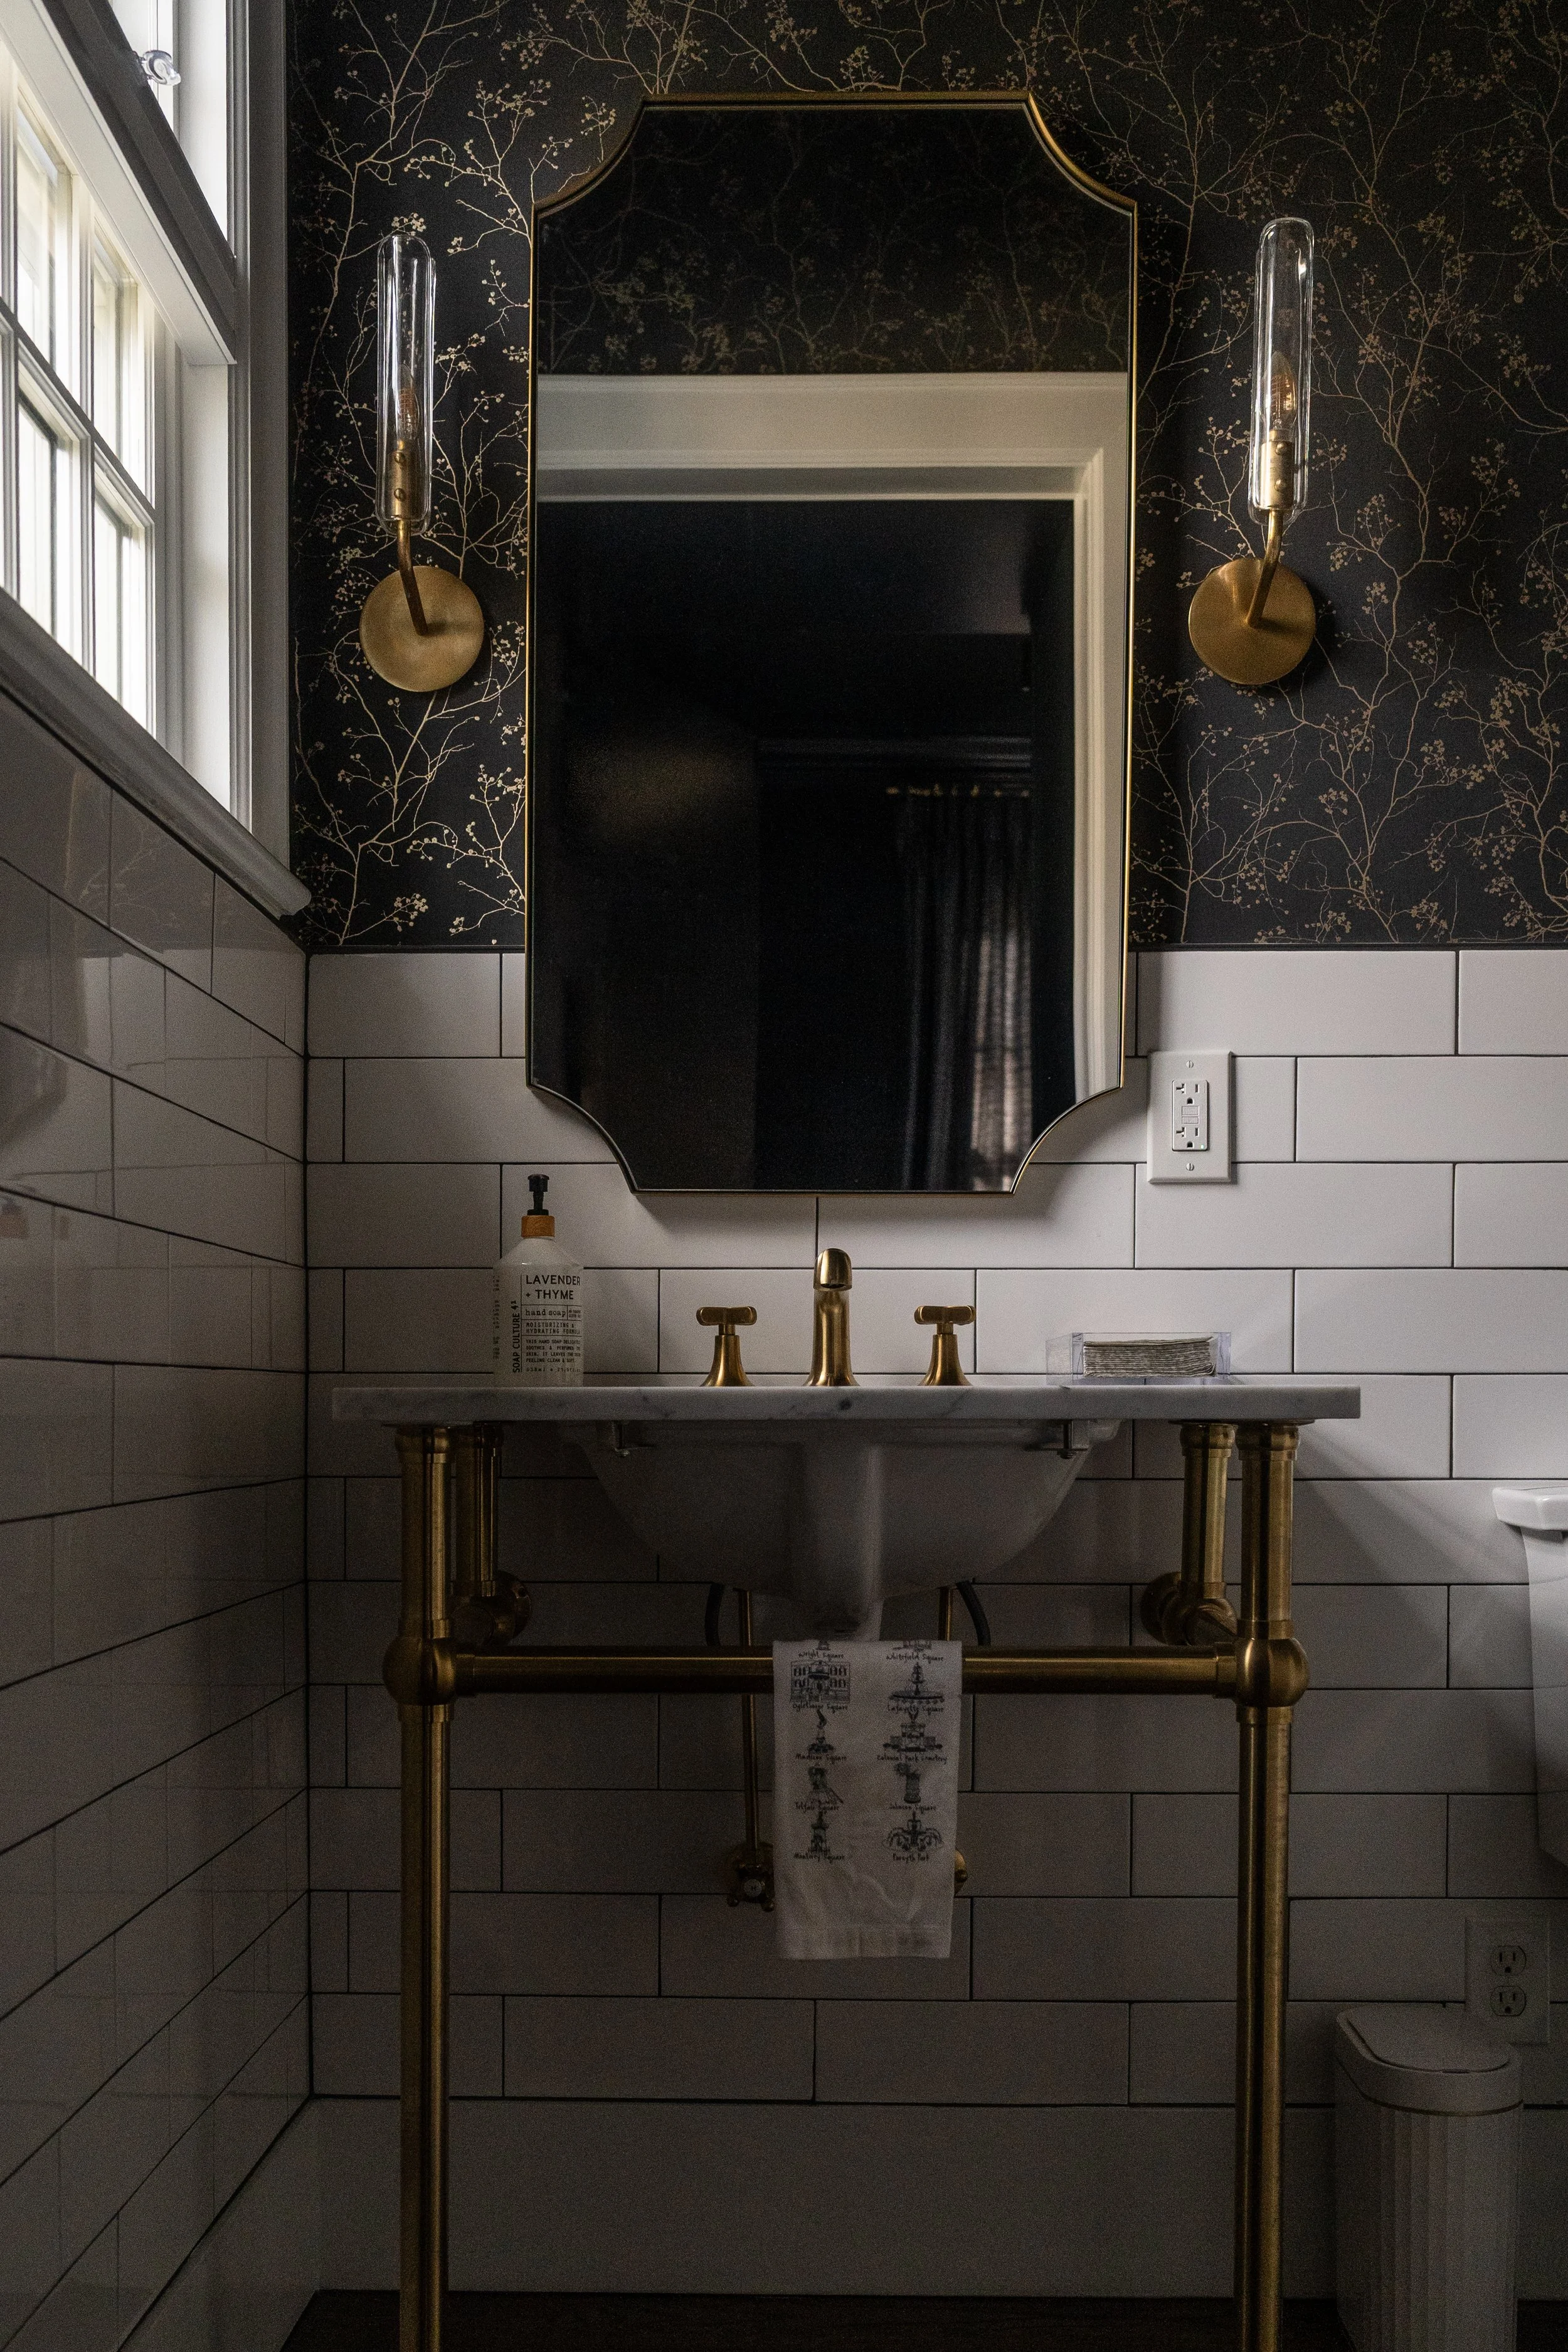
Lighting has a major impact on how an interior photographs. In fact, I would say that it is the single greatest factor in the success of your photos. Photographers use natural light, but will also use strobes and modifiers to shape artificial light so that the same room can feel calm, bright, moody, or warm, depending on how the light is used. Thinking about lighting will be mostly in the hands of your photographer, but there are a few things that are helpful for you to know to help that process run smoothly.
Overhead lights or lamp/chandelier lights are usually left off for most photos, as your photographer will be using a mix of natural window light and artificial strobe light to light the room. However, there are cases when lights are turned on, such as to create a particular mood or to highlight a unique overhead fixture. If this is the case, it is important to make sure all light fixtures are working and that bulb temperatures are consistent within each room. A mix of warm and cool bulbs can create distracting color shifts in the final images. Replacing mismatched or burned-out bulbs ahead of time is a small step that can make a big difference.
Window treatments should also be considered. Curtains, shades, and blinds may need to be opened, adjusted, or styled depending on the room and the direction of the light. Clean windows are especially important, since streaks, dust, and fingerprints can become more noticeable in professional photography.
It is also helpful to think about which rooms receive the best light at different times of day. Some spaces may photograph beautifully in soft morning light, while others may look best later in the afternoon. A photographer can help determine the best order for photographing each room, but understanding the natural light patterns of the home can help the shoot run more smoothly.
Good interior photography is not simply about making a room look bright. It is about using light to show depth, texture, material, and atmosphere. When lighting is planned carefully, the images feel more refined, balanced, and intentional. story online can make all the difference.
Steam, Straighten, and Smooth Textiles
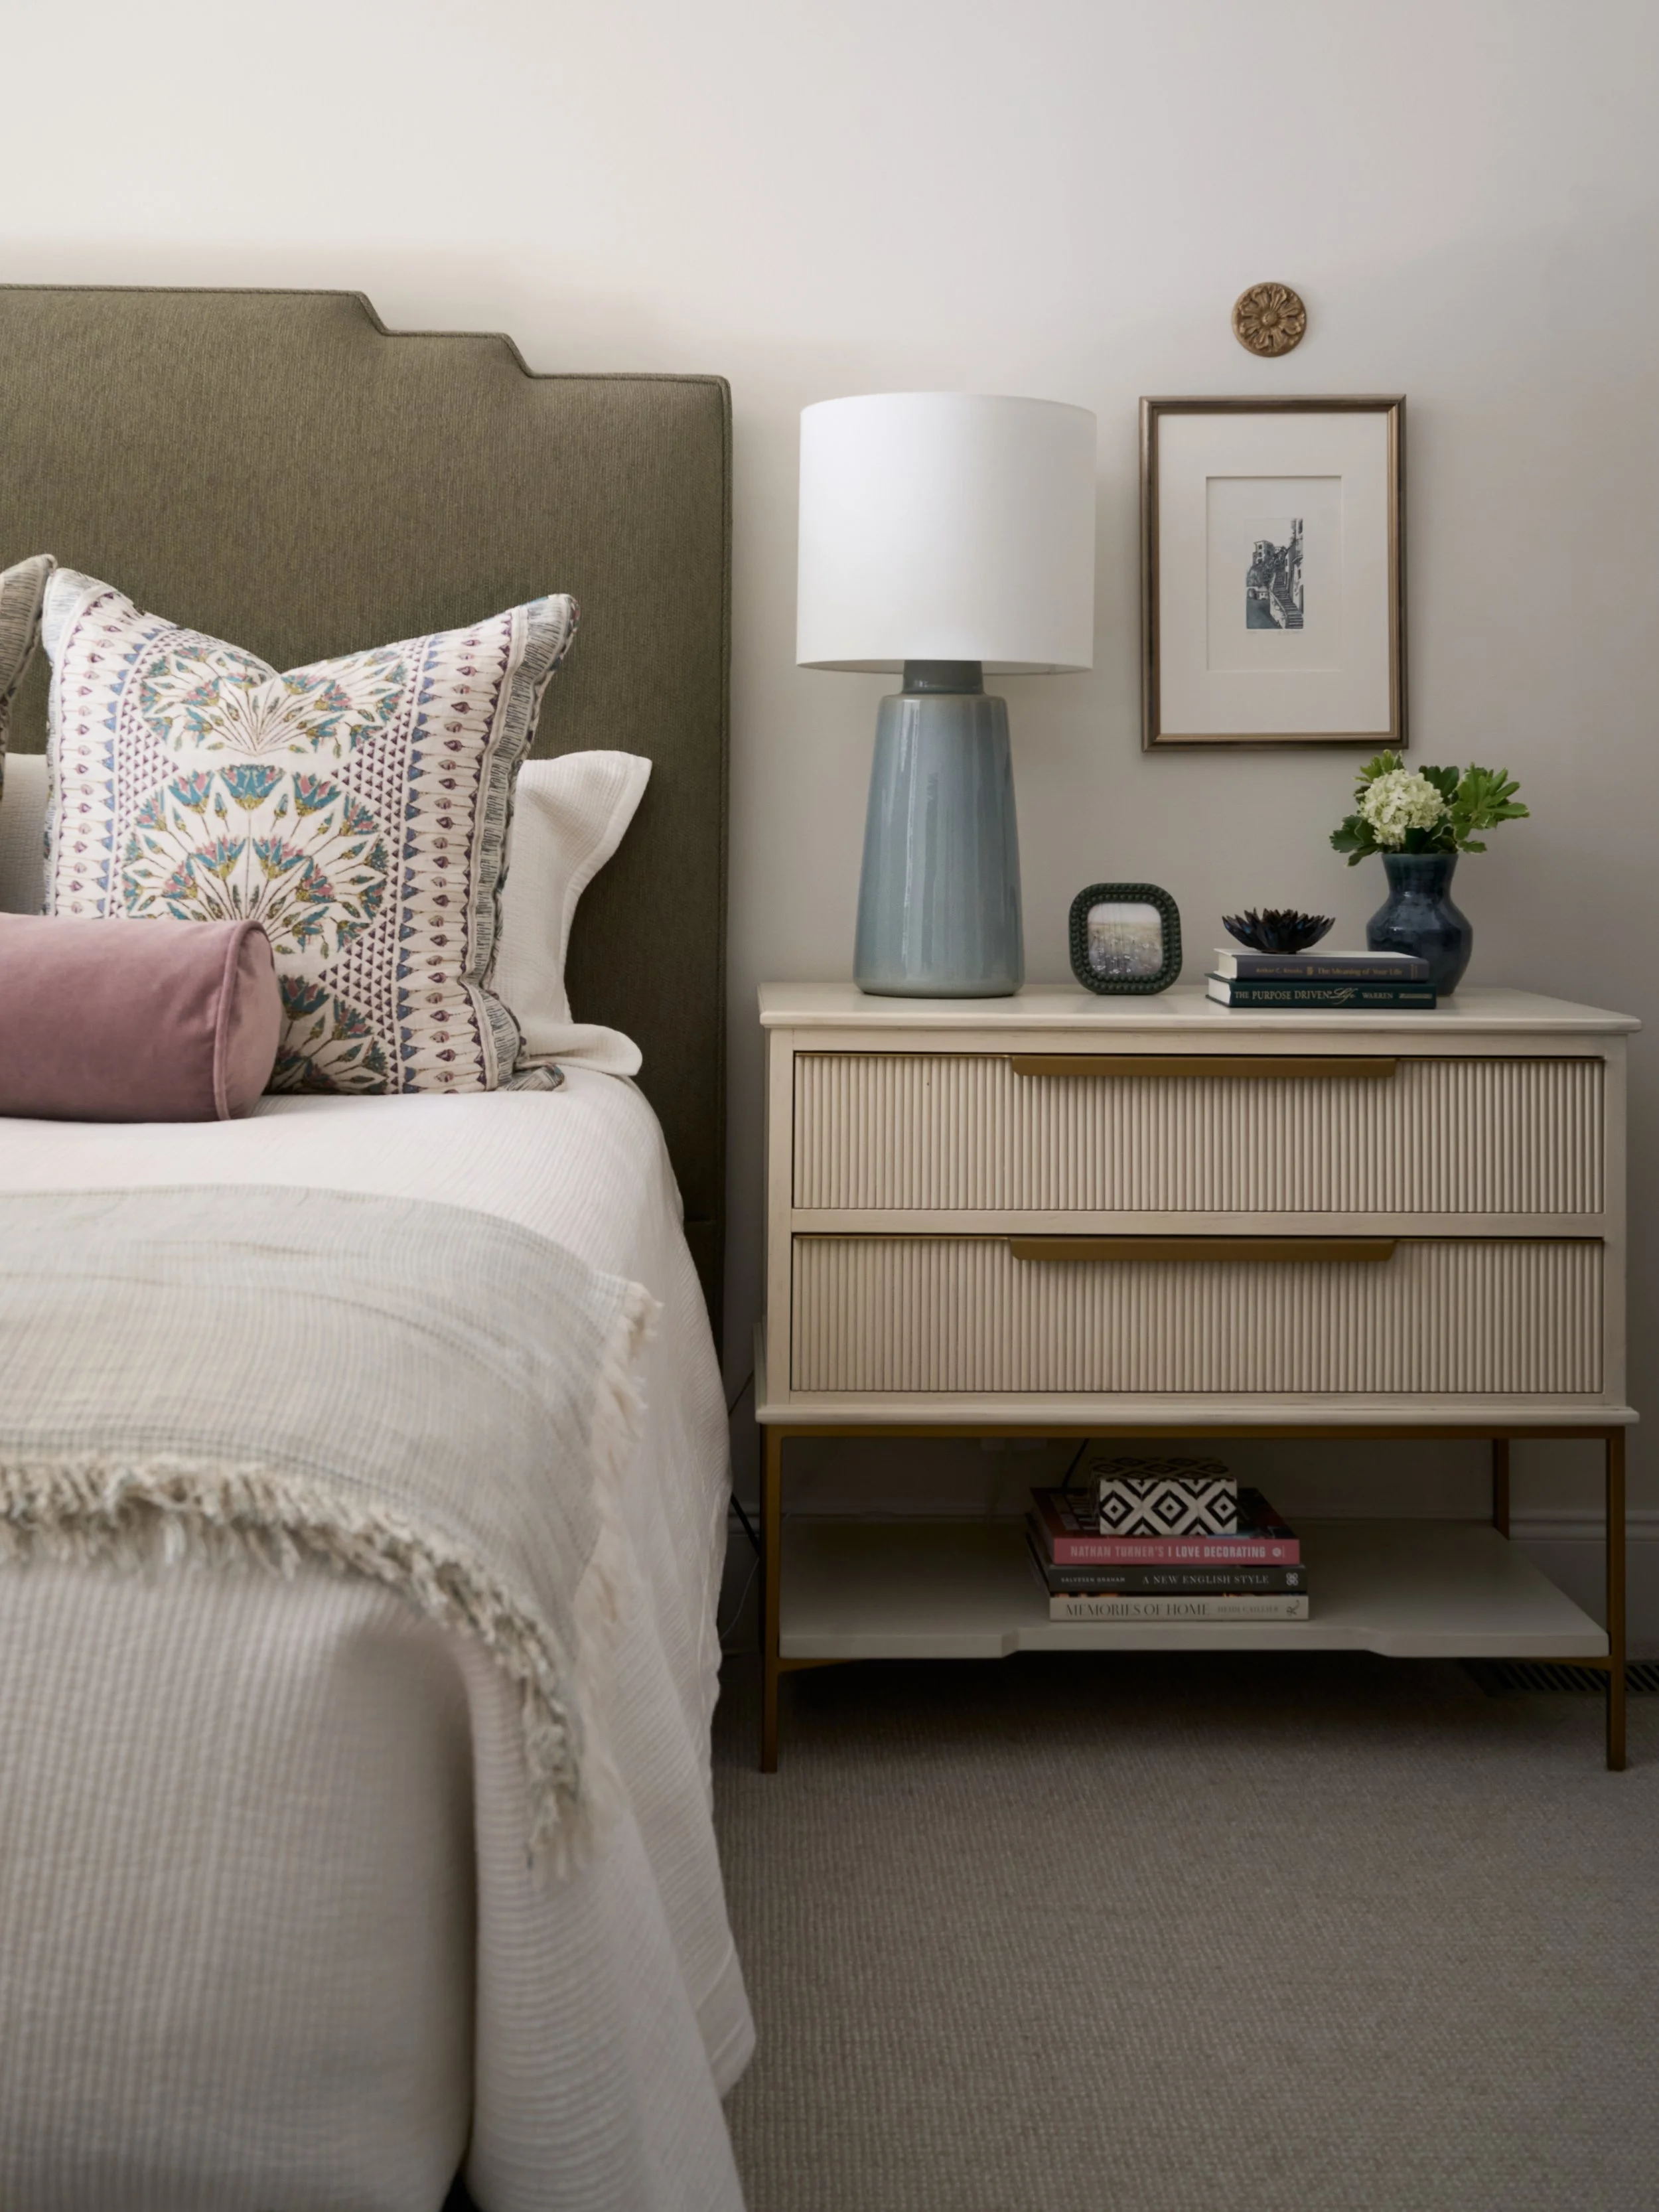
Textiles have a subtle but powerful effect on how polished a room feels in photographs. Bedding, pillows, curtains, rugs, towels, and upholstery all help create softness and texture, but they can also become distracting if they look wrinkled, uneven, or carelessly placed.
Before the photoshoot, take time to steam or smooth any visible fabrics. Wrinkles tend to stand out on camera, so pay careful attention to bedding, throws, pillows, and upholstery.
Curtains and window treatments should also be checked before the shoot. Drapery panels should hang evenly, folds should be adjusted, and any obvious wrinkles should be steamed if possible. Since window treatments often frame the light in a room, they can have a large visual impact on the final image.
These small adjustments can make a significant difference in a finished photograph. When textiles are smooth, straight, and thoughtfully arranged, the room feels more elevated, and the design details shine.
Be Ready to Collaborate
A successful interior photoshoot is a collaborative process. While planning is important, some of the best decisions happen once everyone is in the space working together as a team, responding to the light and layout of each room.
Before the shoot, it is helpful to be prepared. This gives the day structure and helps make sure the most important details are not overlooked. At the same time, it is important to leave room for flexibility. A room may photograph better from an unexpected angle, or a styling adjustment may make the composition feel more balanced.
The designer brings a deep understanding of the project, the client, and the design intent. The photographer brings an eye for composition, light, perspective, and how a room translates on camera. When skills are combined, the final images are stronger.
With preparation, communication, and a willingness to collaborate, the final images will feel polished, refined, and true to your vision.
Final Checklist
A well-prepared photoshoot helps ensure that the final images reflect the thought, care, and detail that went into your project. Some preparation beforehand can go a long way on the day of your shoot. Use this checklist as a final guide:
Final punch-list items are complete
Rooms are cleaned and decluttered
Shot list has been created
Styling items have been planned and gathered
Light bulbs have been checked
Textiles have been steamed or smoothed
Photographer has been briefed on goals and priorities
A professional interior photoshoot is more than the final step of a project. It is an opportunity to preserve your work, tell the story of the design, and create images that can support your portfolio, website, social media, press submissions, and future marketing.
With thoughtful preparation and collaboration, the finished photographs will feel polished, intentional, and true to your vision.